
A handle might look good and solid while the clay is still soft, but then start to separate as the piece sits. Decorative elements or appendages or coils or forms made of multiple parts can do the same thing. You usually need more than just pressing two clay surfaces together to get a strong joint. You must prepare the surfaces, apply the right pressure and blend the seam without adding additional clay to the connection.
Try this simple experiment to see what happens when you use different preparation techniques. Form four small balls of clay and divide them into two pairs. First, press two of the balls together, keeping the surfaces smooth. Next, lightly score the two other balls with a sharp tool, add only a little bit of water or slip needed for your clay and press them together. Now, after allowing them to settle, gently flex each joint. The scored joint will likely be stronger since its surfaces have had more of a chance to grab onto each other.
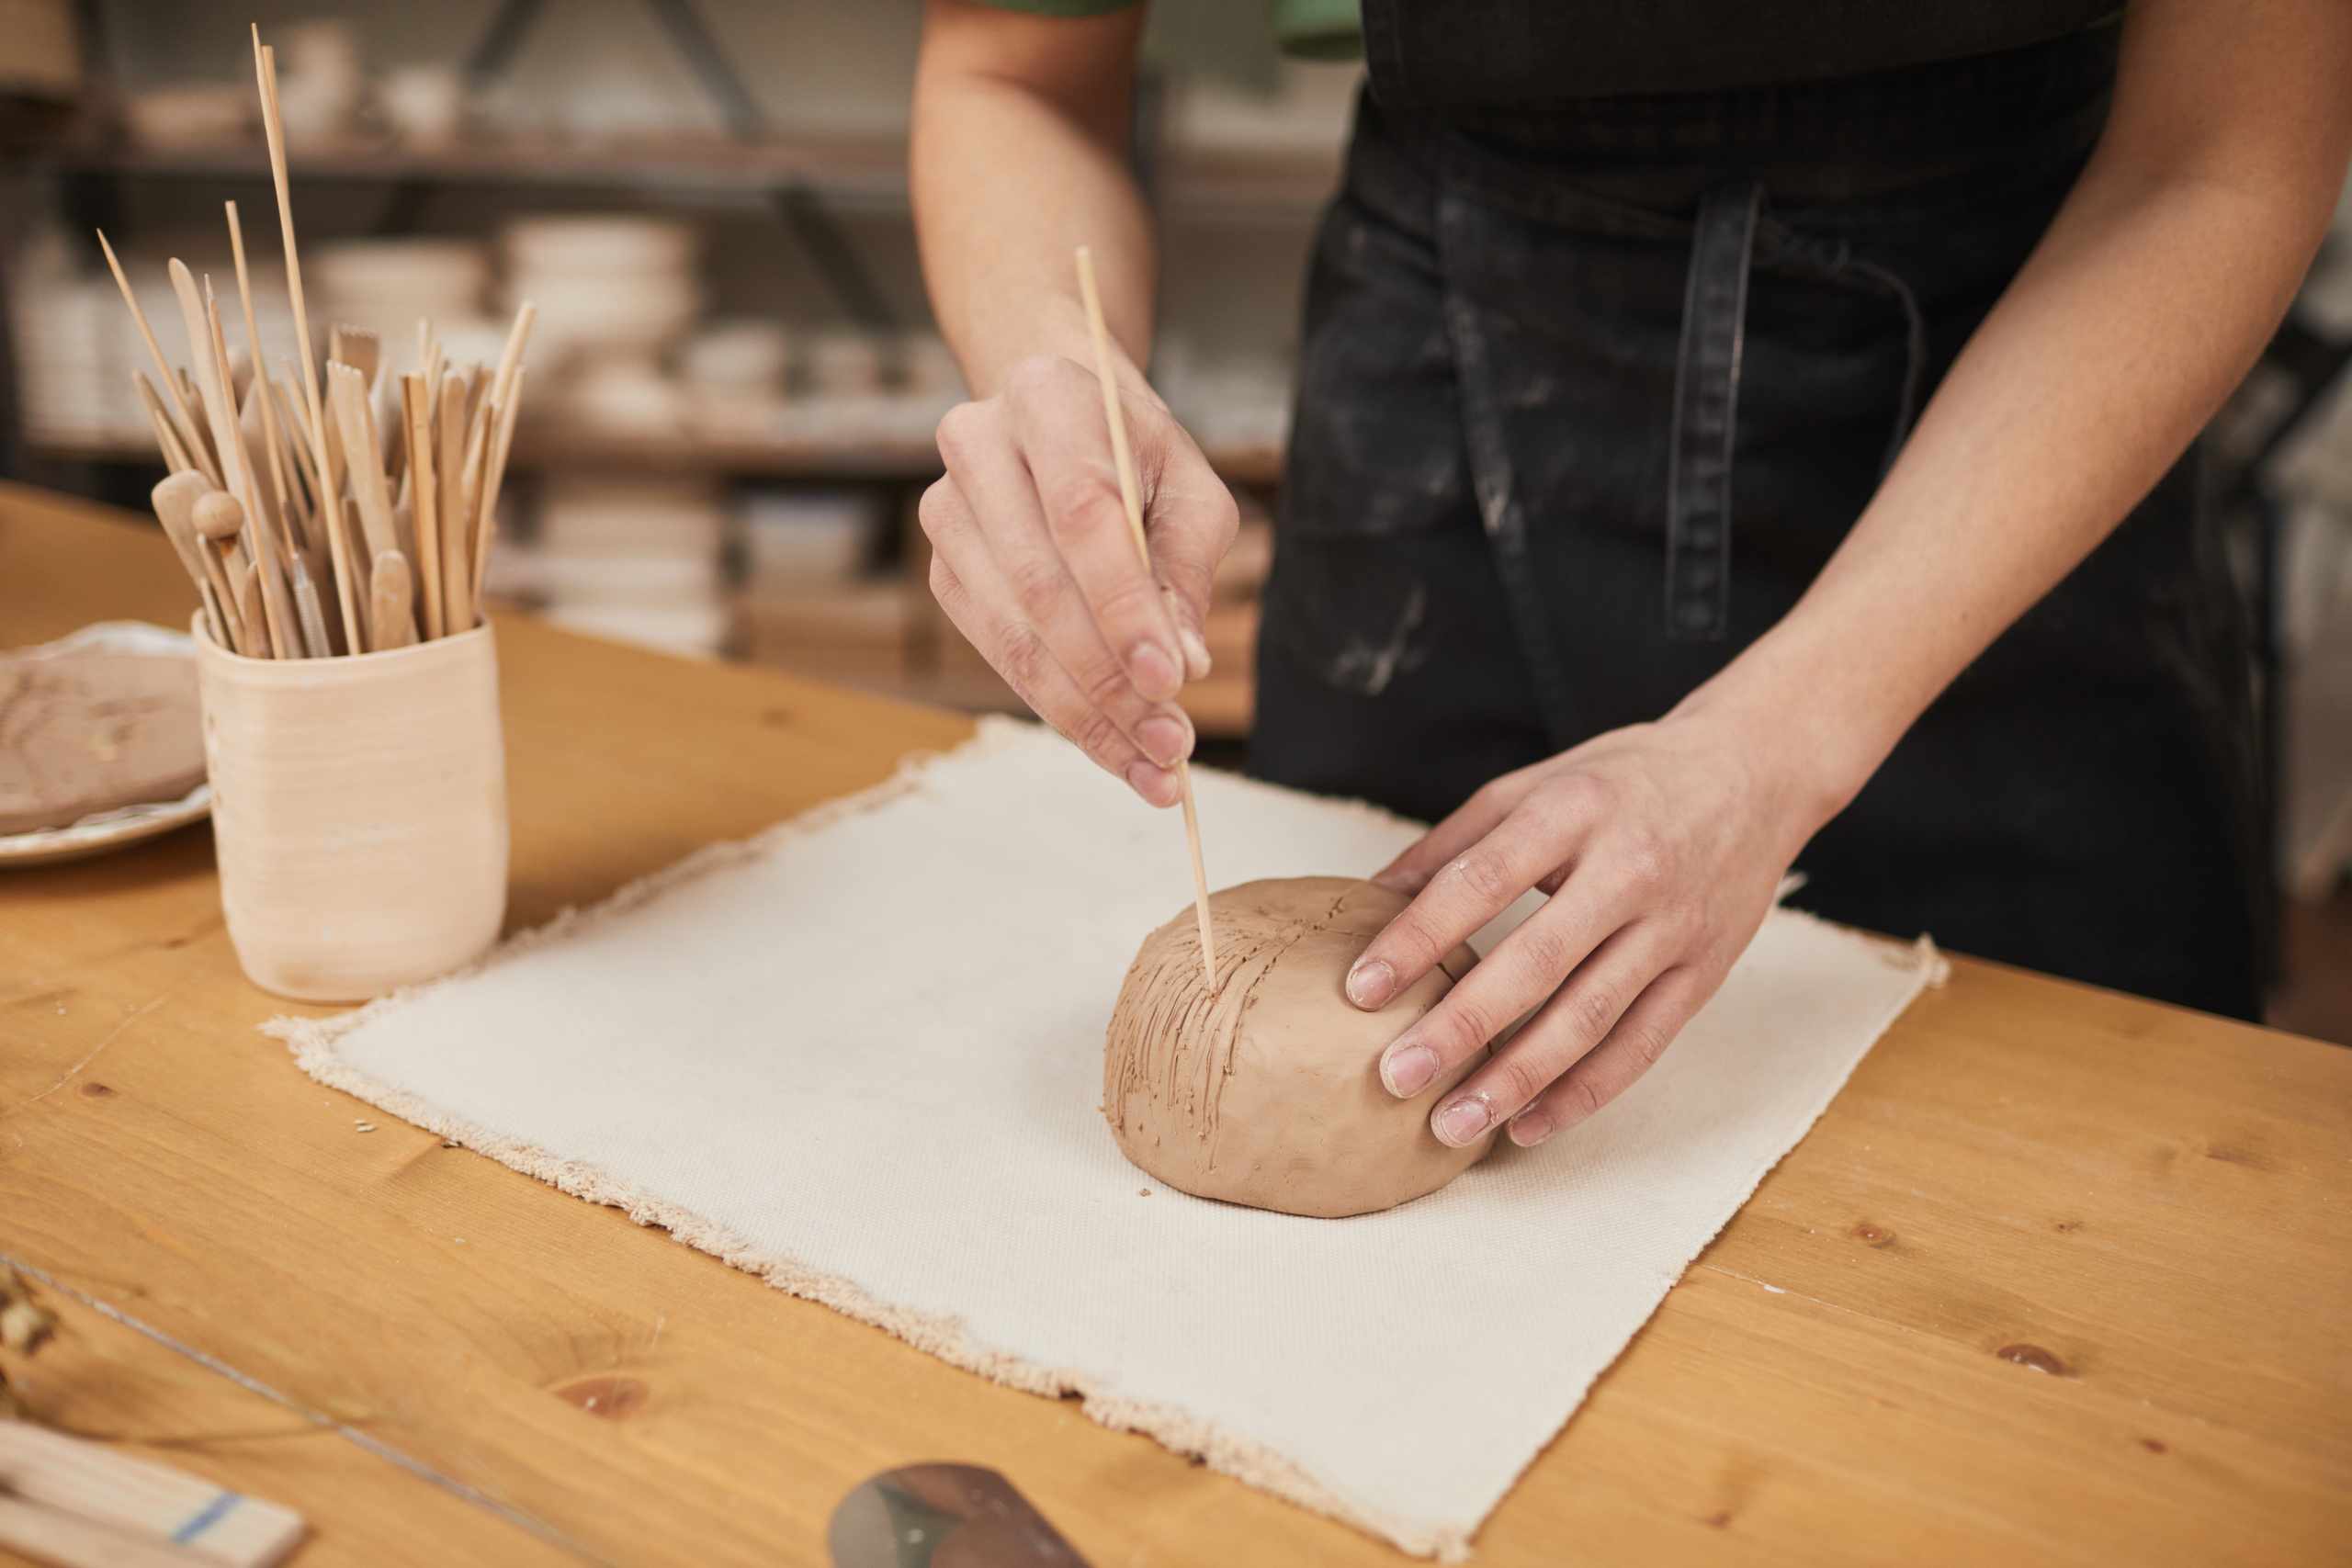
Scoring isn’t about digging holes in the clay. Simple crosshatching with a couple of lines usually provides more benefit than slashing away at the joint. Remember, score both sides. Then line up the pieces before pressing them together. Moving them back and forth multiple times to get the alignment right can flatten the scoring marks and also add too much water to the joint. Once the pieces are positioned correctly, squeeze them together with enough pressure to close them without deforming the rest of the piece.
Often, we end up with bulgy seams because we’ve added too much clay to support a poor joint. A novice might add a big coil of clay around a joint, smooth it into the seam and then add more when the joint still seems uncertain. In the end, you’re left with an obvious bulge around the handle or other attachment, with a poorly joined seam between the two main components. If additional clay is going to be necessary to reinforce a form, keep the additional material minimal. Your primary joint should provide the support, rather than relying on a large mound of soft clay covering up your problems.
Blending works best when it is done gradually. With your finger or a wooden tool, take a small amount of clay from one side of the seam and blend it over the seam. Repeat with clay from the other side. The goal is to create a seamless surface, not erase all signs of the seam in one swipe. Too much pressure can cause the walls of the clay to become thinner, distort the attachment or introduce too much water to the surface. When the clay is still malleable, use a rib or tool to finish the job.
Be aware of how wet the pieces are that you’re trying to join. If you’re trying to attach a very wet piece to a very stiff one, it can be difficult to blend the joint smoothly. Small pieces are also likely to dry faster than a thicker body, particularly when exposed to air on multiple sides. Try to match the workability of the two pieces, join them and then take care to protect the piece from uneven drying based on the requirements of the clay you’re working with.
When you’ve finished the joint, examine it from various angles. Is it sitting flush against the main form? Is one side of the seam still open? Have you created a bulgy mound around the seam? You want the seam to look integrated, not patchy. If you find yourself adding more and more clay to secure the seam, go back to the joint and improve the connection rather than continuing to build up a mound of extra clay around the problem.