
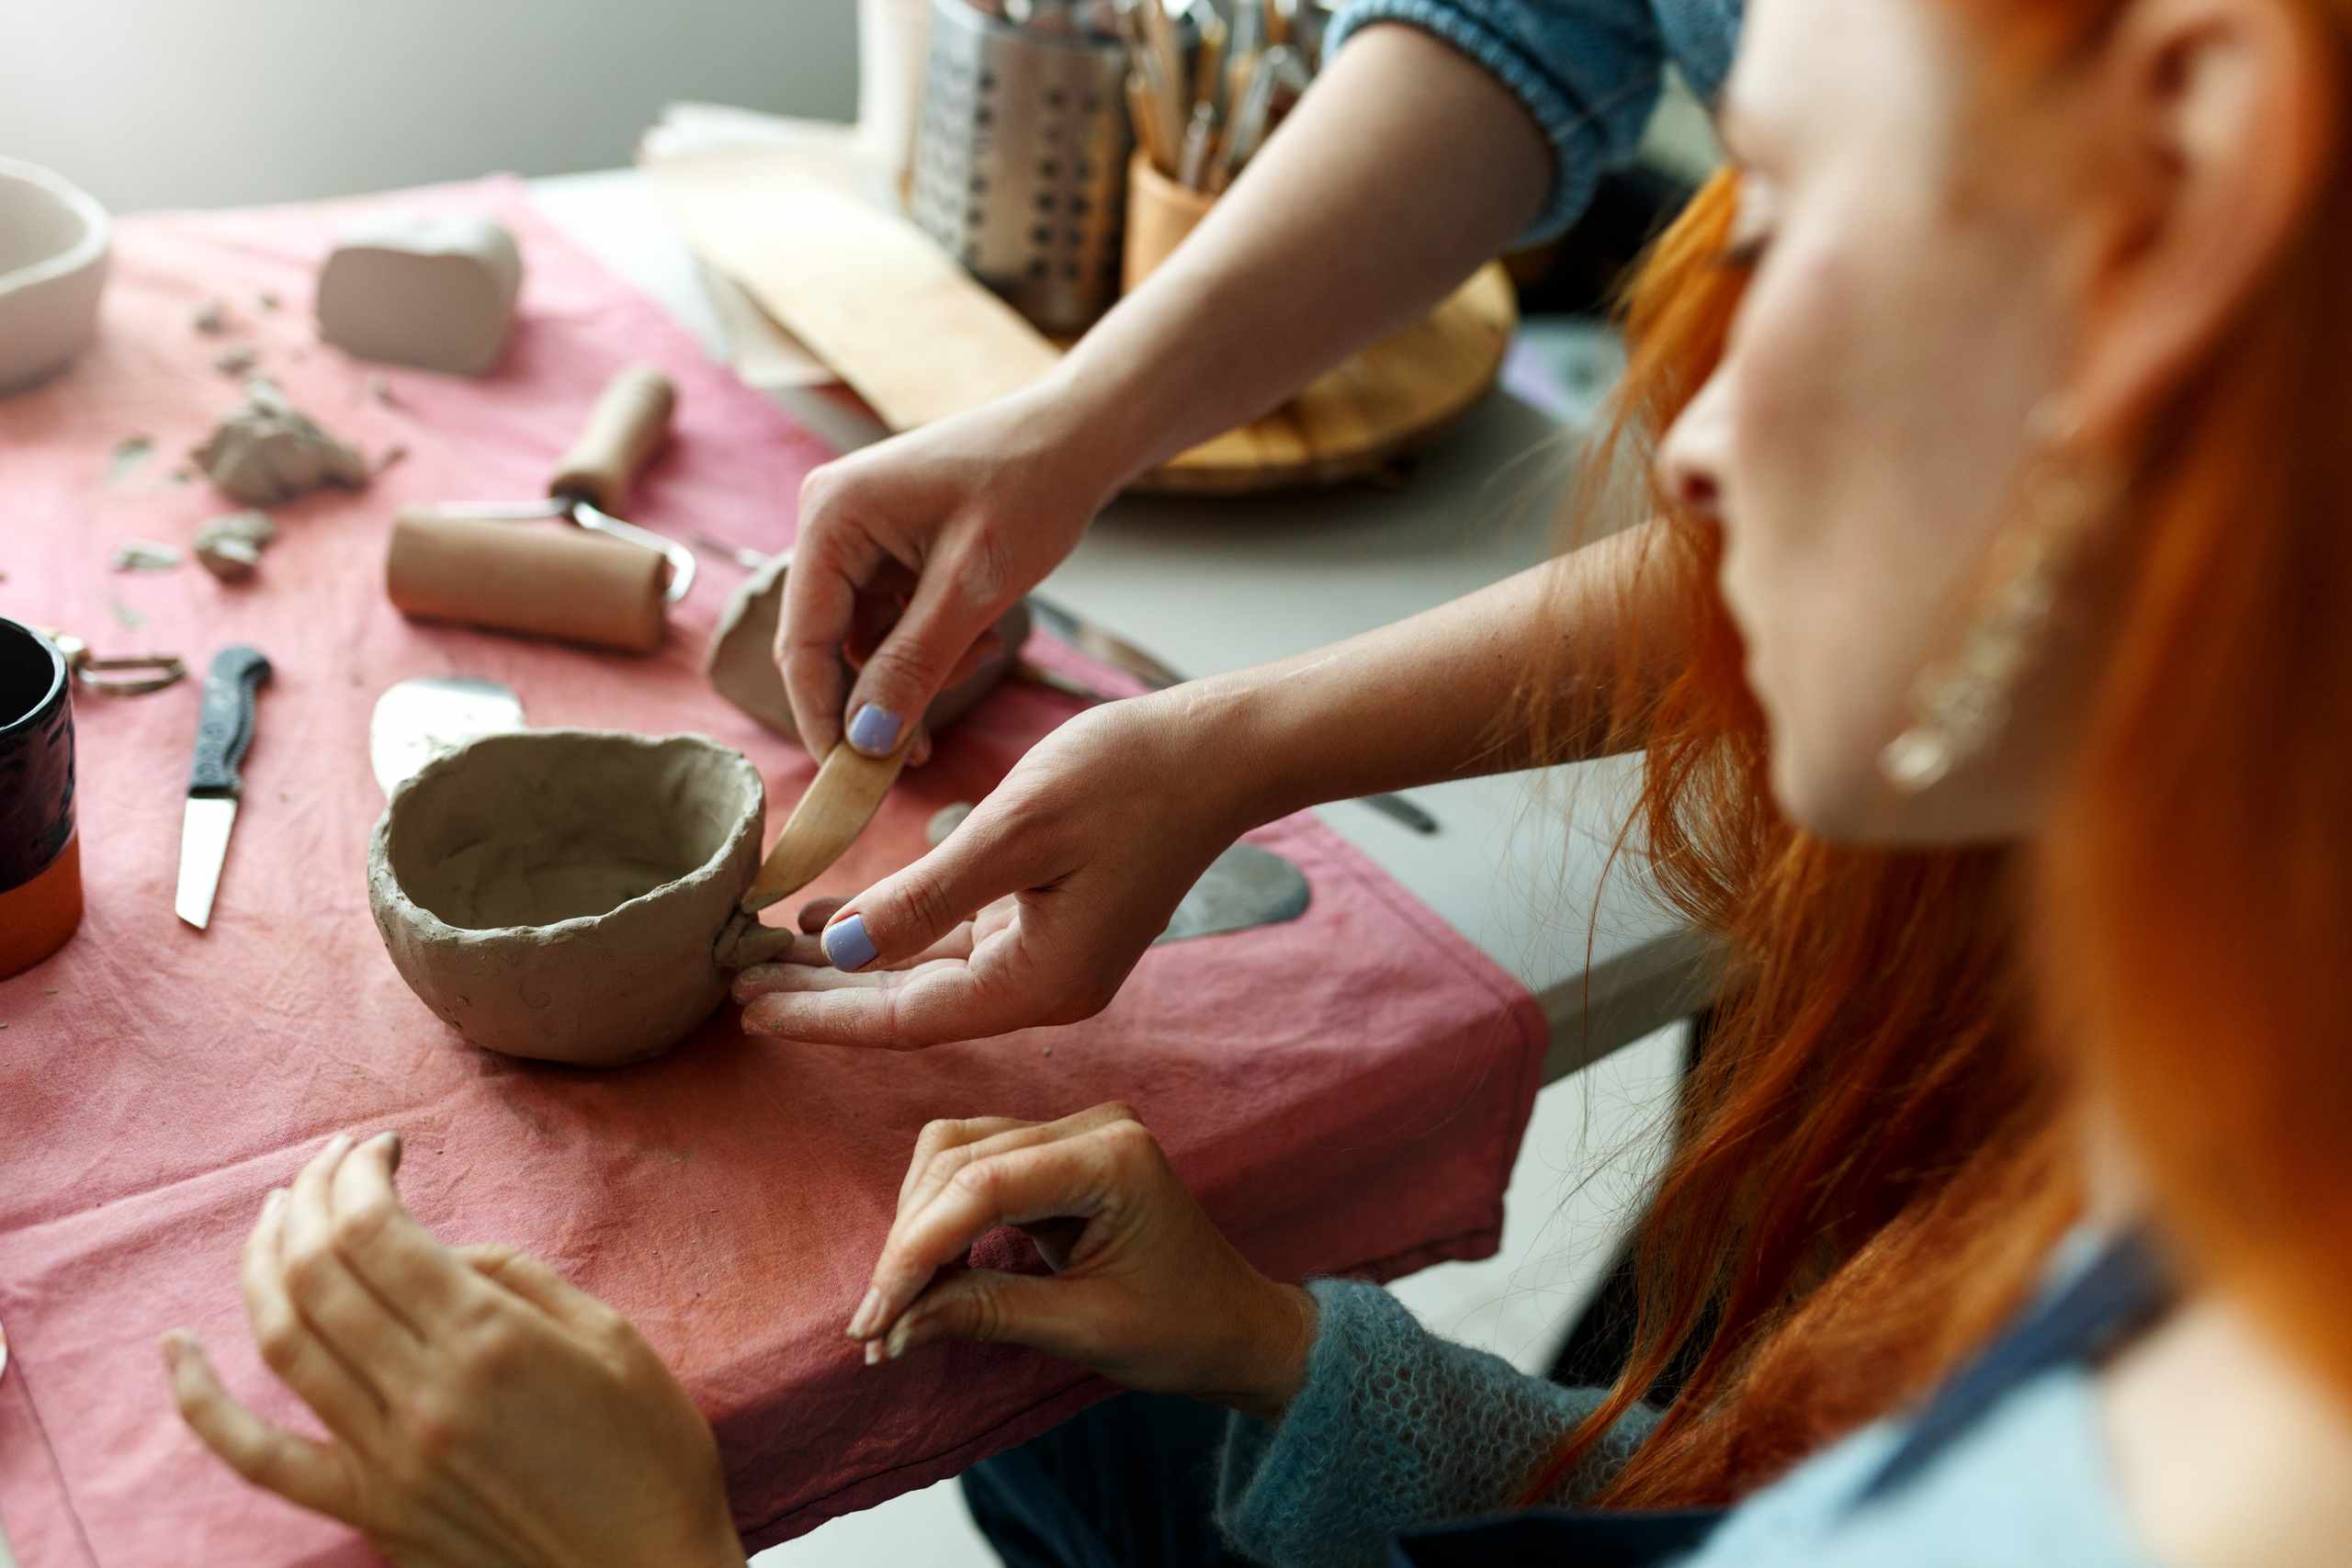
It’s easy to think of water as a magic ingredient that makes working with clay simpler. Sometimes that’s true; adding a bit of water might soften a tough seam or smooth out an uneven surface. Sometimes, however, it just makes the clay sloppy, weak, and harder to manage. In hand-building, you need to stop asking “is the clay wet enough?” and start asking “what am I trying to fix?” Knowing what problem you want to solve with the water can save you from a lot of headache later.
It’s important to remember that the clay you’re using is already wet. In most cases, you don’t need to add any more. Let’s say you are making a pinch pot. In order to thin and raise the walls, you need to apply pressure. It’s tempting to keep dipping your hands in water every few seconds, but if the clay responds well to pressure, you don’t need any more water.
A great way to learn is to take two lumps of clay that are roughly the same size and make two pinch pots with each one. Keep one lump of clay dry, and wet your fingers often for the other lump. After you’ve worked on both forms for about 5 minutes, look at them side by side. Did one feel easier to squeeze and pull than the other? Does one form have smoother walls than the other? Did one form lose its shape more easily than the other? Did one feel stickier than the other?
When clay is wetter than it needs to be, it often becomes glossy and slippery. It can become hard to keep the walls symmetric. You might find that when you press in one spot, clay moves to another spot. The edges of the rim may droop more easily. Fingerprints are sometimes left in clay that is drier than necessary, but in general, the form will keep its shape more easily than a form that was handled with wet hands. Learning how to control the moisture of the clay is best learned by doing rather than by being told to use less water.
The most useful time to use water is when there is a specific job for it. A damp sponge is helpful for removing small blemishes or softening them so they disappear. A little bit of water is helpful when you are finishing a seam. If you have scored the surfaces of two pieces of clay, put some slip between the pieces, and then joined them together, a little bit of water can help you finish the seam so that it is smooth. A coil might become stiff before you attach it to the base of a pot, but a small bit of water can make the process of joining it easier. None of these tasks need copious amounts of water. The clay needs to be firm enough that you can use a wooden rib or a modeling tool to move over the clay without it feeling muddy or sloppy.
When you are starting out, you might see a spot of dry clay and want to smooth it over immediately. You might also want to smooth out the sides of a form frequently. Doing so might cause the walls to thicken, the edge of a rim to round, or a handle to droop. Eventually, you might end up with clay that is so soft that you have to correct a form that became soft because of the corrective action you took! When that happens, let the piece sit for a while. Cover it with a piece of plastic so that it doesn’t dry out completely. When you come back to work on it, you’ll find that it has firmed up and is easier to work with.
Be aware of the difference between the moisture level on the surface of the clay and the condition of the clay overall. A surface might appear dry, but the clay underneath might still be workable. Thick parts of a form, such as a base, will react differently than thinner parts, such as a rim or a handle. When you are ready to smooth the surface or attach a handle to a form, press on the clay with a finger to see how much resistance there is. If the clay yields easily with very little pressure, chances are that you don’t need to add more water. If the clay is firm but still allows you to make a controlled mark on the surface, it might need a small amount of water.
In general, better moisture control will result in a form that does not change its shape suddenly. The walls will be even, the rim will hold its position, and the seams will blend nicely without becoming mushy. Tools will leave clear marks. You should keep water close by, but you shouldn’t have to touch it every few seconds. Pay attention to the clay’s resistance, texture, and ability to hold its shape. These will guide you when you need more water and when you don’t.